
The RAM of a computer plays a vital role in storing the data and accessing the different applications and features of the device. It saves programs and operations for quick access. It is also known as “Volatile Memory.” Before the execution of any specific service, the system uploads the data to the RAM from the Hard disk.
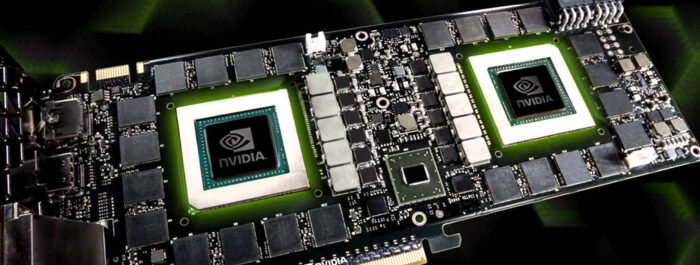
But this is not all; we also need to run our favorite games, High-Quality videos, and even the 3D structures. For this, you need a secure and latest Graphics Card in your system’s Hardware.
Table of Contents
WHAT IS VRAM?

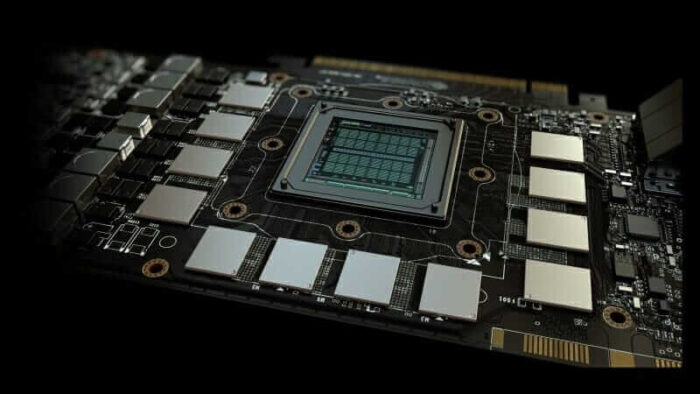
Video RAM or VRAM is a type of RAM that holds the information needed by the Processing units. It runs High-Quality videos much faster than the normal RAM. The Graphic Cards utilizes the installed VRAM to store images and video files.
VRAM may also call “Virtual RAM,” as it helps in the secure processing of games and other graphical applications. Most of the new games and apps require High-Quality videos to run, which needs a lot of VRAM. If sufficient VRAM not provided, it leads to overloading the Processing Units.
HOW TO INCREASE THE DEDICATED VRAM?
The easiest way of increasing the dedicated VRAM is reallocating the installed system RAM as the VRAM. This is done either by BIOS settings or by Registry settings.
If you have enough budget, then it is best to buy a new graphics card. This will give an overall boost to your operating system.
HOW TO CHECK VRAM?
Note: These steps are for the users of Windows 10
Following steps show the method of checking VRAM on your computer:
- Windows key + R<Run Box
- Type “ms-settings: ease of access-display.”
- It will open a Display tab
- Now press and open Advanced display settings, and press Display Adapter Properties for Display 1
- An HD Graphics Properties Panel will open. Search for Dedicated Video Memory.
This gives the required VRAM.
METHOD 1- INCREASING DEDICATED VRAM FROM BIOS
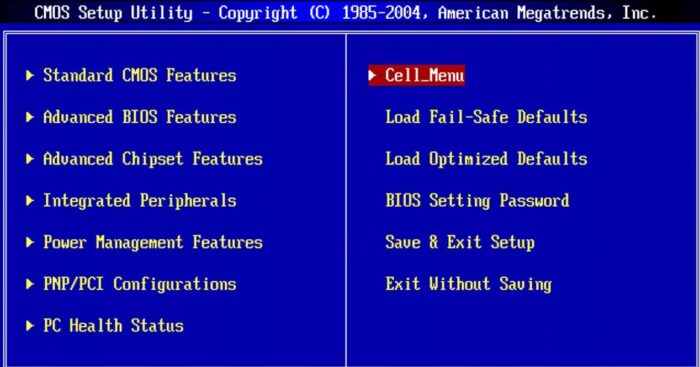
This method recommended while reallocating the system RAM aa dedicated VRAM. Not all motherboards allow this reallocating. So, you should first check if you have enough privilege to change the dedicated VRAM on your system.
Follow the following steps;
- Restart your computer
- Repeatedly press the BIOS key; F2, F5, F8 during the bootup
- A BIOS Menu will open
- Go to Advanced Features or the option similar to it
- On that, press Video/Graphics Settings or VGA Share Memory Size. In case you are unable to find these options, it is recommended to go for similar opportunities.
- Now adjust it according to your needs. Usually, default system memory is 128MB. But you can increase the dedicated VRAM up to 256MB or 512 MB.
- Finally, save the changes and restart your system.
METHOD 2- INCREASING THE DEDICATED VRAM FROM REGISTRY EDITOR
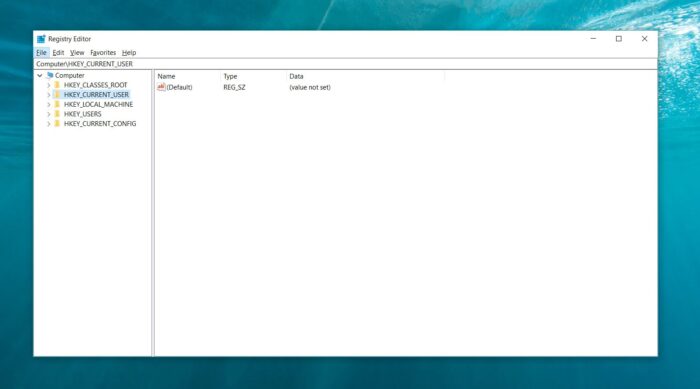
Note: The following steps are only applicable for integrated GPUs from intel.
Following steps are used;
- Press Windows key + R opening a Run box.
- Type “Regedit” and press Enter
- This will open a Registry editor
- Now use the left-hand panel to navigate the following steps:
HKEY_LOCAL_MACHINE < Software < Intel
- Now right press the Intel folder and select New <Key. Name it as GMM.
- Now move to the right-hand panel and press the right button and then navigate;
New<DWORD (32-bit) Value.
- Name it as DedicatedSegmentSize.
- Double-click the DedicatedSegmentSizeto open Edit DWORD (32-bit) Value dialogue box.
- Set the Base to Decimal and insert the desired value of VRAM ranging from 0 to 512.
- This inserted value will be the amount of VRAM displayed inside the Adapter Properties menu.
- Finally, Save the changes and restart your computer.


![10 Tips to Improve Battery Life of a Gaming Laptop [Latest 2023 Guide]](https://reviewspapa.com/wp-content/uploads/2019/01/Improving-Gaming-Laptops-Battery-Life-211x150.jpg "10 Tips to Improve Battery Life of a Gaming Laptop [Latest 2023 Guide]")
![Can You Take Laptops on Planes [2023 Detailed Guide]](https://reviewspapa.com/wp-content/uploads/2018/12/Can-You-Take-Laptops-on-Planes-211x150.jpg "Can You Take Laptops on Planes [2023 Detailed Guide]")

